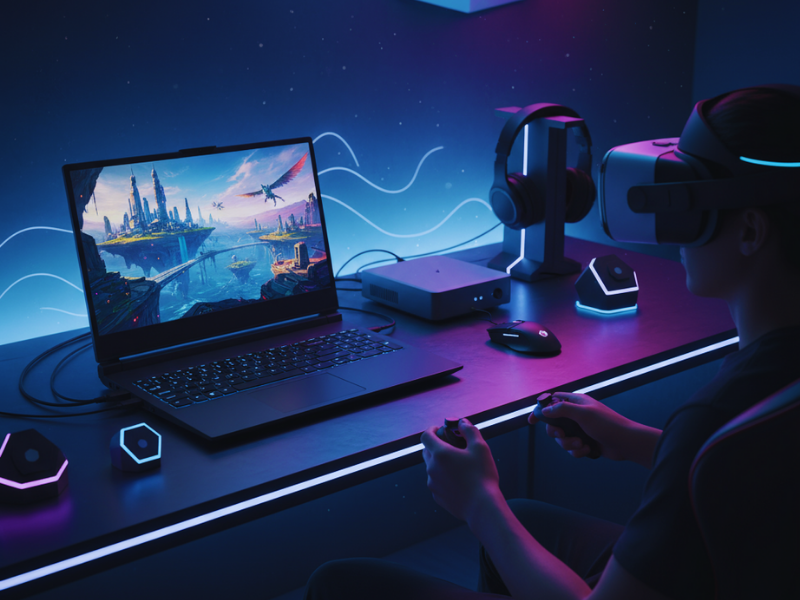
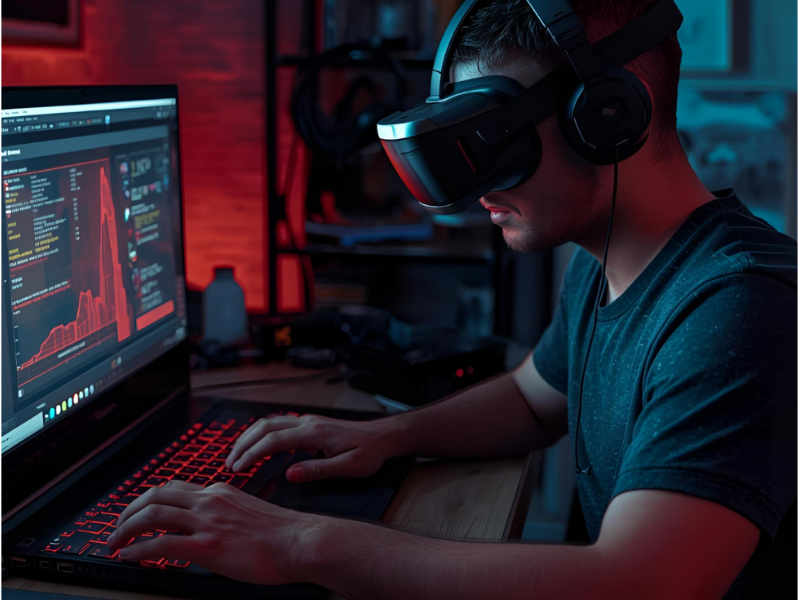
If you’ve ever wondered how to optimize gaming laptop for VR, you probably already know how wild virtual reality feels the first time you try it. You’re not just looking at the game you’re in it. One moment you’re sitting in your room, and the next you’re dodging bullets in Half-Life: Alyx or standing on a cliff in No Man’s Sky VR. When everything runs smoothly, it’s breathtaking. But when it doesn’t, it quickly turns into a motion-sickness nightmare.
Here’s the truth: even powerful gaming laptops can struggle when running VR. Fans start roaring, frames drop, and that “immersive” world suddenly feels like a slideshow. But don’t rush out to buy a new rig just yet. With a few smart tweaks, you can squeeze out far better performance from the laptop you already have.
Table of Contents
Why Optimizing Your Gaming Laptop for VR Matters
VR asks a lot from your machine. Instead of rendering one screen, it’s drawing two high-res images at the same time one for each eye and it has to keep everything buttery-smooth or your brain complains. A couple of skipped frames and boom, you feel queasy.

Optimization isn’t just about chasing higher numbers. It’s about keeping your laptop cool, stable, and smooth so you can actually enjoy the game instead of fighting your hardware.
Before You Start: Prepare Your System and Setup
Laptops don’t play by desktop rules. They’ve got tight spaces, shared heat pipes, and strict power limits. Push too hard in one area and another starts throttling. So think of this as tuning, not overclocking finding that sweet spot where everything runs steady.
Step 1: Check If Your Laptop Can Handle VR Performance
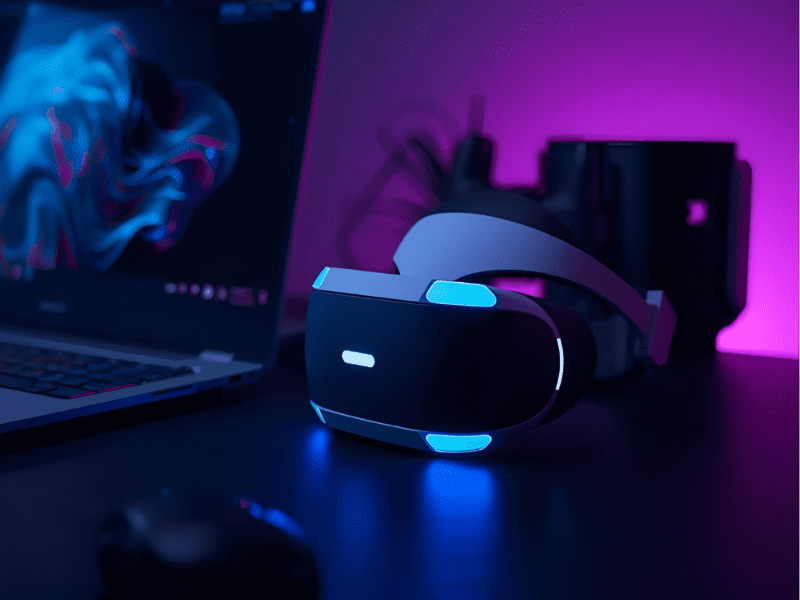
You can’t tune what’s missing. Most VR headsets Meta Quest, HTC Vive, Valve Index expect at least an RTX 3060 or a Radeon RX 6700M, a decent CPU like an i7 or Ryzen 7, 16 GB RAM, and fast SSD storage. If you’ve got that or better, great. If you’re running below, you’ll still get improvements, just not miracles.
Step 2: Update Drivers, BIOS, and System Software
Seriously, update. GPU drivers, headset software, SteamVR all of it. I’ve watched laptops jump from stuttery mess to smooth gameplay after a single driver update. Use GeForce Experience or AMD Adrenalin, hit update, reboot, and you’re already ahead.
Step 3: Switch to Performance Mode for Maximum Power
Windows loves saving battery, but VR loves power. Go into Settings → System → Power & Battery and flip the switch to Best Performance. If your brand has its own control center (MSI, ASUS, Alienware), pick the gaming or turbo mode.
And yeah, plug it in. Battery mode throttles everything.
Step 4: Benchmark and Check Your VR Performance Baseline
Before you tweak further, run something like the SteamVR Performance Test or FPSVR. It’ll show frame rates, latency, and any frame drops. Knowing your baseline makes it easier to see which tweaks actually help instead of guessing.
Step 5: Keep It Cool – Control Laptop Temperatures During VR
Heat is the silent killer of performance. The hotter the laptop, the slower it gets simple as that. Blow the dust out of the vents, grab a cooling pad, and play on a hard surface. If you’re feeling brave, adjust the fan curve or do a light undervolt.
Old machine? Fresh thermal paste can drop temps by a few degrees and make a noticeable difference in VR smoothness.
Step 6: Quick Optimization Wins for Better VR Gameplay
Close everything you don’t need browser tabs, launchers, Discord overlays, the lot. Set your GPU control panel to “Prefer maximum performance.” Keep Windows Game Mode on. These take minutes and can free up enough power to smooth out frame dips.
Step 7: Fine-Tune VR and Game Graphics Settings
In your VR software, ease off the render resolution or supersampling a little. Even a 10 percent drop often boosts FPS more than you’d expect, and you’ll barely notice the visual change. Turn down heavy effects like shadows or anti-aliasing if needed. Smooth gameplay beats fancy reflections any day.
How to Optimize Gaming Laptop for VR
By now your gaming laptop should already be running smoother in VR. The next step is polishing the details the little adjustments that feels like a desktop setup.
Adjust GPU Settings for Smoother VR Performance
Open your NVIDIA Control Panel or AMD Adrenalin and make a few key adjustments.
- Power Management: set to Prefer maximum performance.
- Texture Filtering Quality: use High Performance rather than Quality.
- V-Sync: keep it off for VR.
- Low-Latency Mode: turn it on.
These small shifts reduce input lag and help the headset keep a consistent frame rhythm.
Manage Background Apps to Free Up Resources
Windows loves running things quietly in the background updates, indexers, cloud sync tools. They eat CPU time even when you don’t notice.
- Open Task Manager → Startup Apps and disable what you don’t need.
- In Settings → Privacy & Security → Background Apps, stop extra ones.
- Pause OneDrive or Google Drive syncing before a long VR session.
Free CPU time means steadier tracking and fewer frame drops.
Keep VR Software and Drivers Clean and Updated
Every headset platform (SteamVR, Meta, Viveport) stores logs and leftover data. Wipe those occasionally. Inside SteamVR’s settings, clear the temporary cache and unused overlays. Less clutter means quicker launch times and fewer micro-stutters.
Use a Wired Connection for Stable VR Experience
If you’re using wireless streaming like Meta Quest with Air Link bandwidth and latency can fluctuate. A USB-C cable or dedicated link cable gives the GPU a stable feed. You’ll instantly notice cleaner motion and fewer compression artifacts.
Optimize Room Setup for Better VR Tracking
Performance isn’t only about the laptop. VR tracking needs clear space and solid lighting. Make sure sensors or headset cameras have line-of-sight. Reflective surfaces and blinking LEDs can confuse tracking and cause those weird “jumps.”
Maintain Optimal Temperature During Long VR Sessions
consider using a custom fan curve. Most gaming utilities let you boost fan speed earlier in the temperature range. The noise trade-off is worth it; cooler hardware keeps stable clock speeds.
For persistent heat, undervolting the CPU or GPU (just slightly) can drop temps by several degrees with no visible loss in frame rate.
Reduce Input Lag and Motion Latency in VR
Low latency is the difference between “immersive” and “uncomfortable.”
- In SteamVR, turn on Motion Smoothing only if your laptop struggles to hit full frame rate.
- Keep USB devices plugged into ports directly connected to the motherboard rather than hubs.
- Update firmware for both the headset and controllers; tracking often improves with each release.
Common Mistakes That Kill Laptop VR Performance
Even experienced players run into these:
- Running on battery — instant performance limiter.
- Over-installing overlays or plugins — each one steals GPU cycles.
- Forgetting to reboot after updates — caches stay locked, drivers half-apply.
- Leaving Chrome or Discord on in the background — they can spike CPU usage randomly.
Fixing just one of these often smooths gameplay more than fancy tweaks.
Bonus: Calibrate Your VR Headset and Controllers Properly
A quick calibration before long sessions avoids drift and re-centering mid-game. In SteamVR or your headset app, run room setup again if you’ve moved anything in your space. It takes two minutes and saves a lot of frustration.
Final Thoughts: Keep Your VR Laptop Running Smoothly
Optimizing a gaming laptop for VR isn’t about turning it into a monster desktop it’s about letting the hardware breathe and perform consistently. After applying both parts of this guide, you should feel a clear jump in stability, cooler temps, and sharper motion response.
Before you dive back into Beat Saber or Half-Life Alyx, keep this habit: every few months, update, clean, and retest. Small maintenance keeps performance steady across new driver and game updates.
For more detailed breakdowns, new headset comparisons, and hands-on tweaks, check out the latest guides on Tecknostat.
FAQs
Q1. Can any gaming laptop run VR smoothly?
Not all can. You’ll need at least an RTX 3060 or equivalent GPU, a solid CPU like Intel i7 or Ryzen 7, and enough cooling. Lower-end laptops can run VR, but expect to dial down graphics settings.
Q2. How do I reduce lag in VR on my laptop?
Keep your GPU drivers updated, close background apps, and always plug your laptop in while using “Best Performance” mode. Lowering render resolution or supersampling also helps.
Q3. Does overheating affect VR performance?
Yes, high temperatures cause throttling, which drops FPS and increases latency. Use a cooling pad, clean vents, and manage fan curves for better thermal control.
Q4. Should I use wired or wireless VR connection?
A wired connection is more stable and reduces latency, especially on demanding games. Wireless works fine for casual use but can introduce compression or lag.
Q5. Can undervolting or overclocking improve VR performance?
A light undervolt can reduce heat and maintain stable performance. Overclocking helps slightly but isn’t always safe for laptops due to limited cooling.